- This installation requires approximately one hour to complete.
- Disconnect all power to the BG PXT®2 to perform this installation!
- All components included in this set must be installed!
- Check package to ensure all of the following components are present and intact.
- One (1) touchscreen
- One (1) electronics assembly: mounting plate with PLC and drive board securely fastened
- One (1) return shipping label
- Tools needed to perform this upgrade:
- Flashlight
- 5/16″ (8 mm) socket
- Long handled #2 Phillips head screwdriver
- Short handled #2 Phillips head screwdriver
- Small blade flat head screwdriver
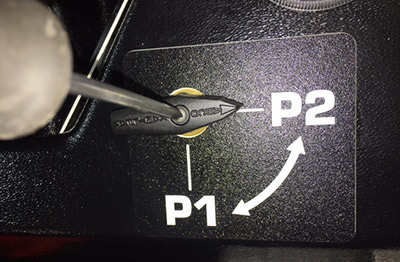
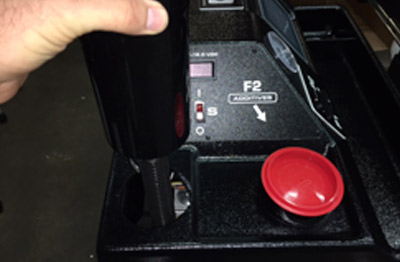
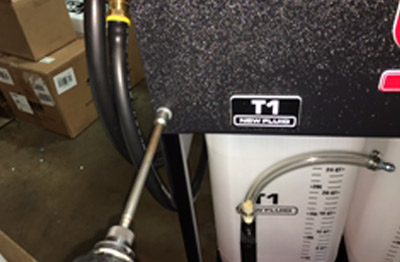
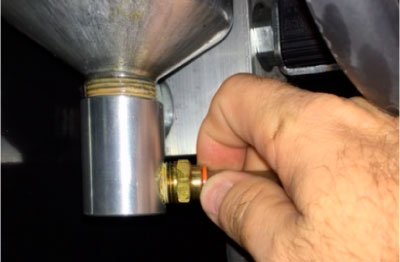
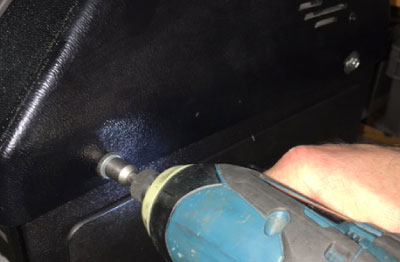
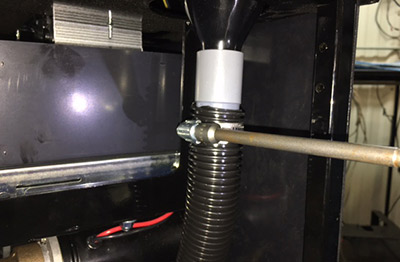
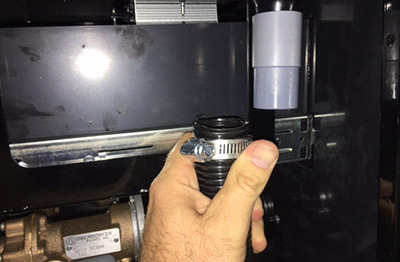
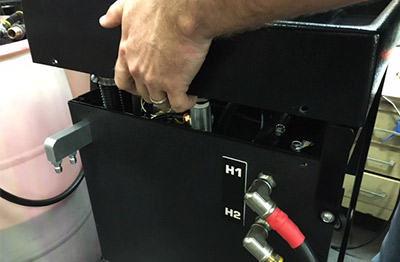
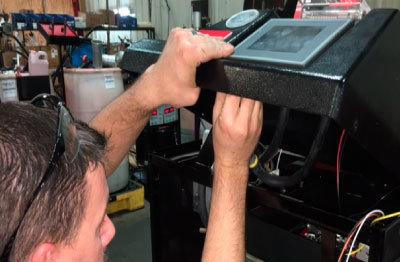
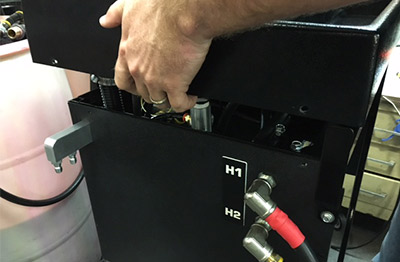
From the front of the machine, with a hand on either side of the top skirting, lift gently upward approximately 2″ (50 mm) until the left skirting clears the top of the hose hanger.
The hoses do not need to be disconnected.
CAUTION: Do not lift quickly or firmly as wires can be damaged easily.
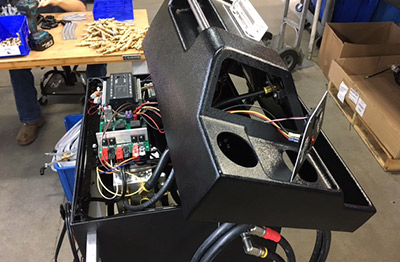
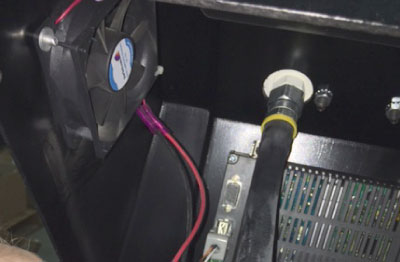
There is a cooling fan attached to the inside of the plastic top that has short wires leading to the drive board. Disconnect the fan from the drive board by pulling on the connector.
CAUTION: Do not pull on the wires!
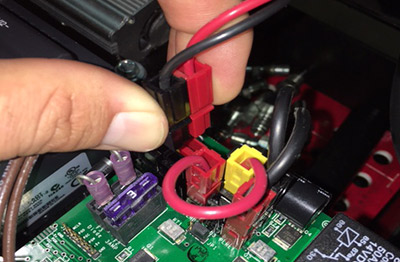
Disconnect the volt meter and the switch in the fill label from the drive board by pulling on the connector.
CAUTION: Do not pull on the wires!
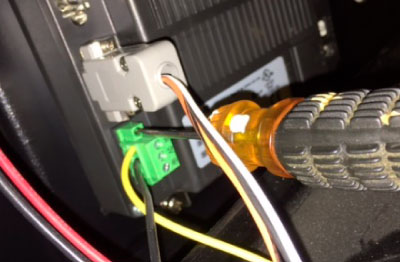
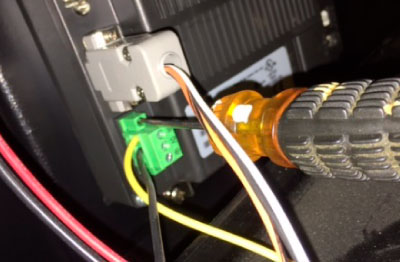
Use a small blade flat head screwdriver to loosen the two screws on the power harness (yellow and black wires in green connector) from the back of the touchscreen and remove it by pulling on the connector.
CAUTION: Do not pull on the wires!
NOTE: The screws do not fall out.
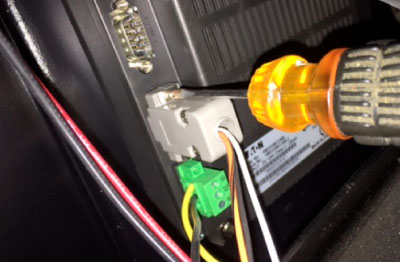
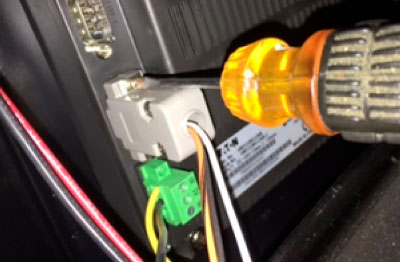
Use the same flat head screwdriver to loosen the two screws on the data harness (black, orange and white in gray housing) from the back of the touchscreen and remove it by pulling on the housing.
CAUTION: Do not pull on the wires!
NOTE: Screws do not fall out.
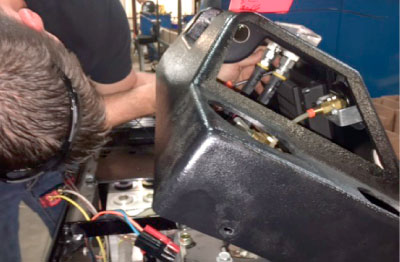
CAUTION: Keep a hand on the touchscreen to prevent it falling out of the top!
For easiest access, use a long handle #2 Phillips head screwdriver from the back of the machine. Loosen the two mounting bracket screws on the top of the touchscreen and remove the two mounting brackets.
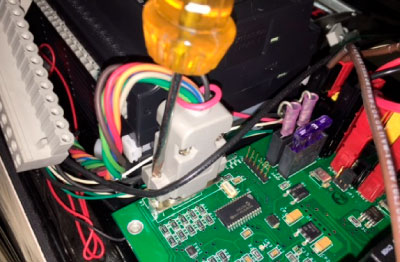
On the drive board, use a small flathead screwdriver to loosen the two screws holding the wire connector to the drive board. Remove the harness by pulling on the connector housing.
CAUTION: Do not pull on the wires!
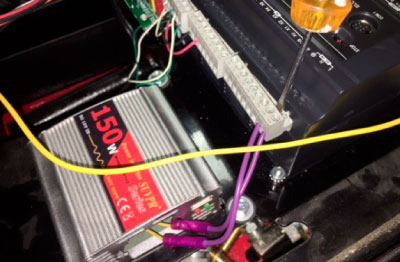
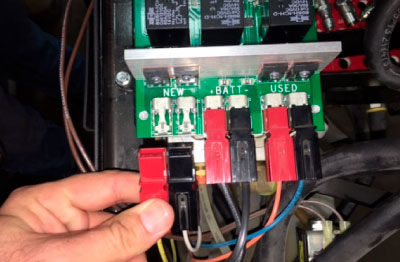
Disconnect the “NEW,” “+BATT–,” and “USED” connectors from the drive board by pulling on the connectors.
CAUTION: Do not pull on the wires!
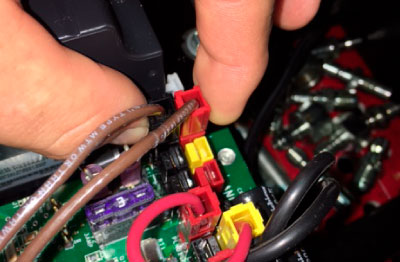
Disconnect the brown solenoid wires from the drive board by pulling on the connectors.
CAUTION: Do not pull on the wires!
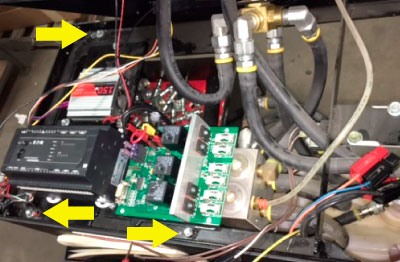
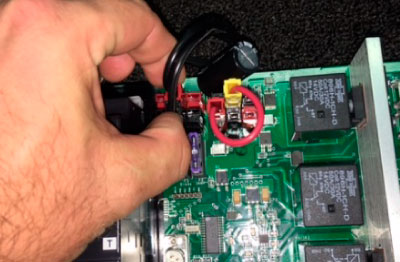
Disconnect the brown solenoid wires from the drive board by pulling on the connectors.
CAUTION: Do not pull on the wires!
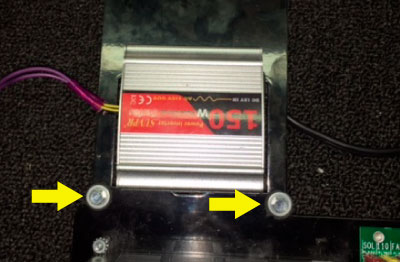
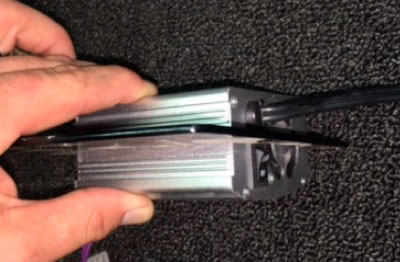
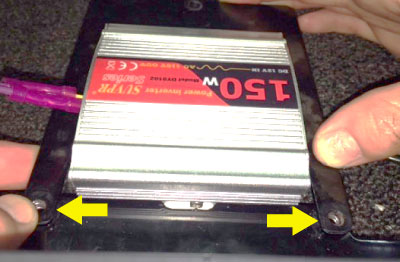
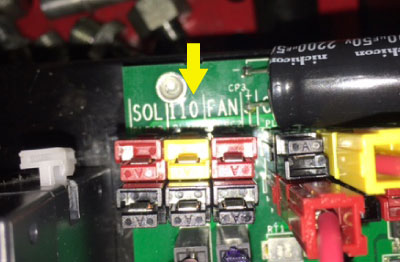
Connect the power inverter to the drive board at the connection marked “110.”
NOTE: Only one orientation is possible.
NOTE: Connector colors on drive board may be different.
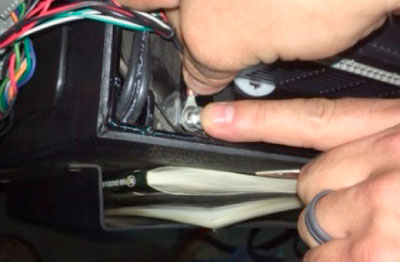
Set the new assembly in the machine where the old was removed and use a 5/16″ (8 mm) socket to install the three screws removed from step 21. Reconnect the ground wire with a screw that does not have an insulating washer.
CAUTION: Make sure all wires are free and do not get pinched!
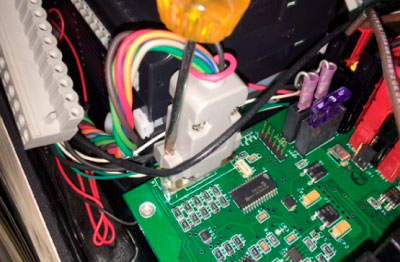
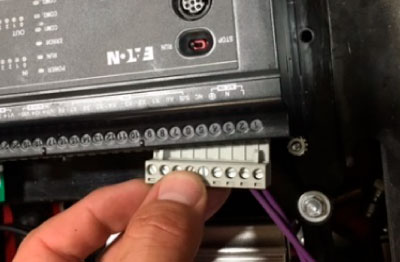
Connect the six gray connectors to the PLC by pushing them into place. Ensure that they are fully seated before continuing.
NOTE: Each connector is keyed to fit a specific location.
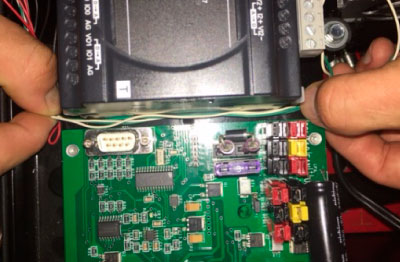
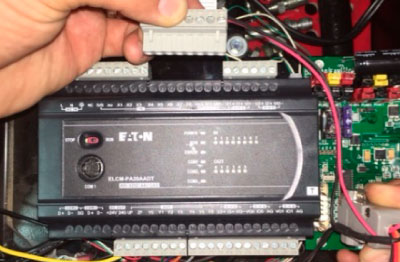
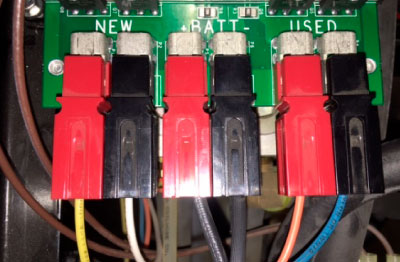
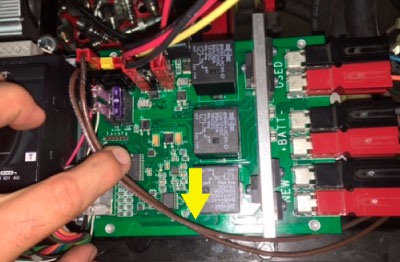
Connect the brown solenoid wires to the connectors next to the “SOL” marking and run the wire as pictured to the left.
NOTE: Only one orientation is possible.
NOTE: To prevent damaging the wires, leave the fan disconnected until the last step.
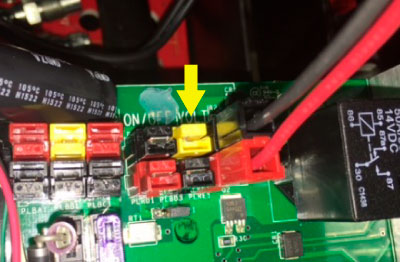
Connect the voltmeter wire harness (2 wires from the fill label) to the drive board at the location labeled “VOLT.”
NOTE: Only one orientation is possible.
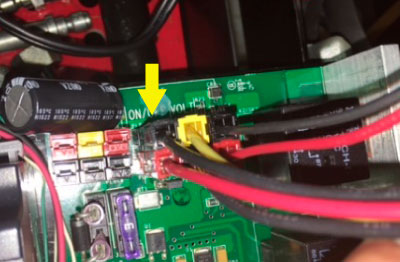
Connect the switch wire harness (4 wires from the fill label) to the drive board at the location labeled “ON/OFF.”
NOTE: Only one orientation is possible.
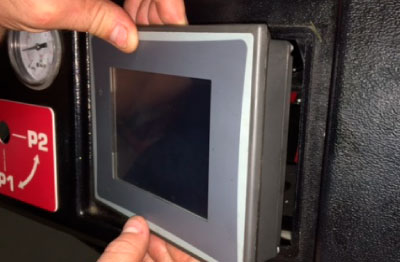
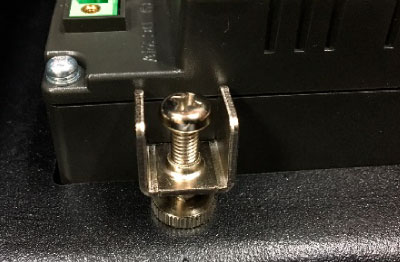
Tilt the top back, and hook two mounting brackets in the rectangular slots on the bottom side of the touchscreen. Use a short #2 Phillips head screwdriver to tighten only enough so the brackets won’t fall out.
Do not tighten screws yet!
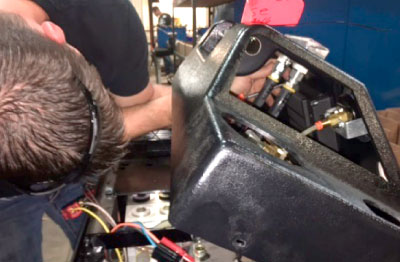
Keep a hand on the touchscreen to prevent it from falling out and tilt the top forward. From the back of the machine, install two brackets in the rectangular slots on the top side of the touchscreen. Use a long handle #2 Phillips head screwdriver to tighten the bracket lightly snug.
CAUTION! DO NOT OVERTIGHTEN MOUNTING SCREWS!
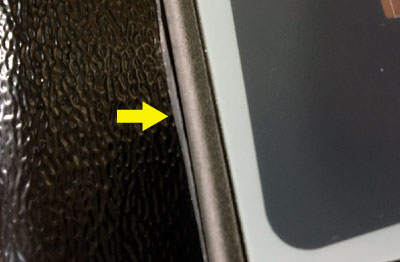
Tighten each screw until the rubber gasket between the face of the touchscreen and the face of the top squeezes out no more than 1/16″ (1.5mm).
CAUTION: Damage to the plastic housing will occur if the screws are overtightened.
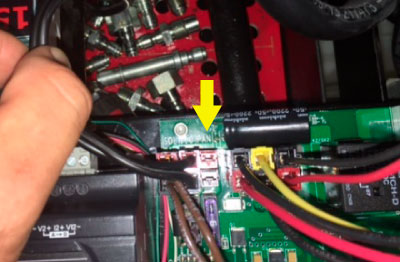
Plug the fan connector into the location labeled “FAN.”
NOTE: Only one orientation is possible.
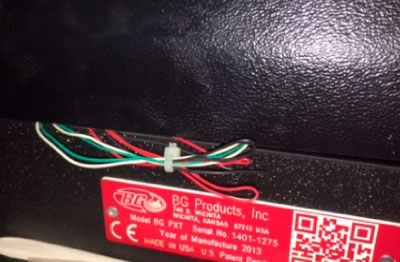
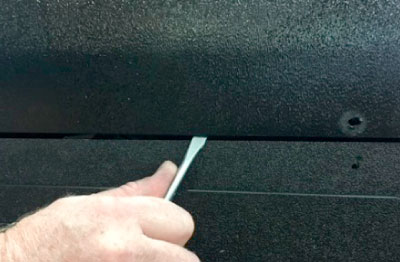
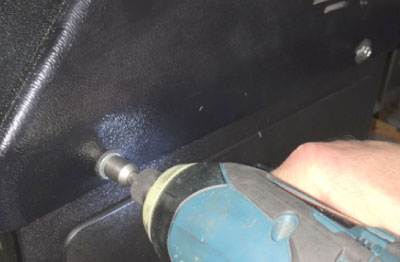
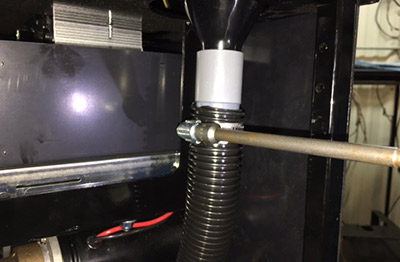
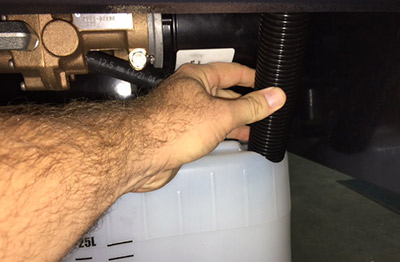
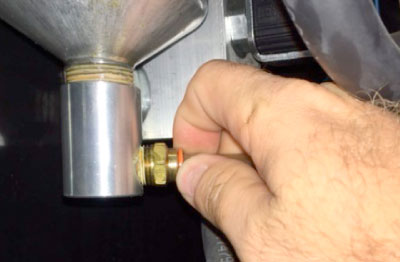
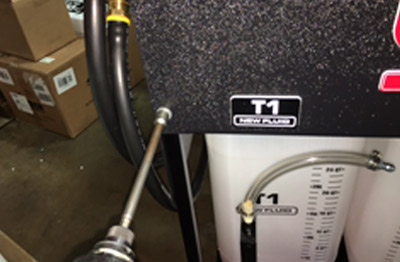
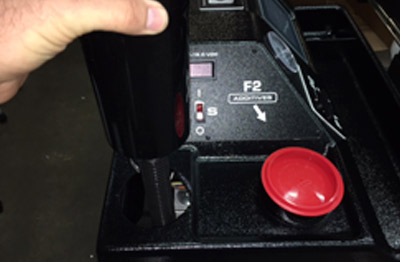
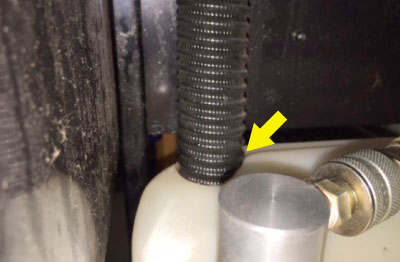
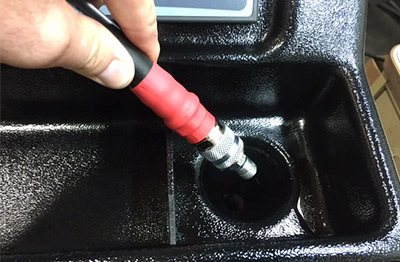
Take care to properly insert the hose into the hole in T1.
CAUTION: If the hose is not properly installed, a large spill could occur!
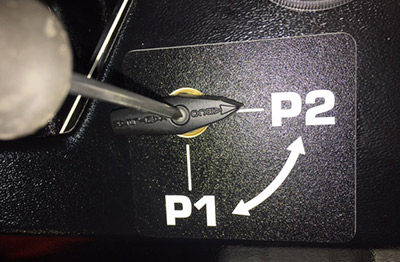
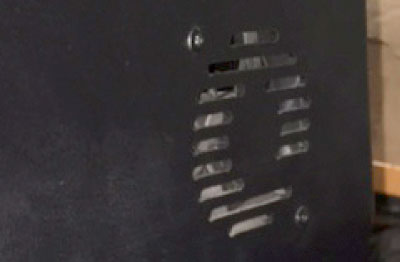
Check fan operation. Power the BG PXT® and place your hand near the fan slots on the back right of the console top. You should feel air movement from the fan.
If there is no air movement, the fan wires may have been damaged and need to be re-crimped.
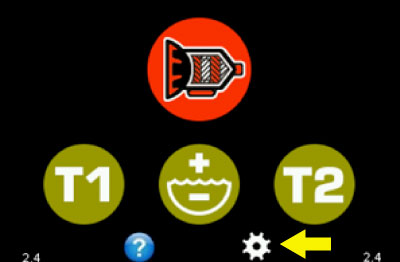
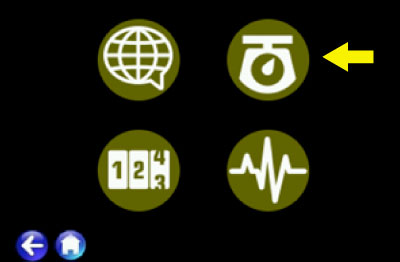
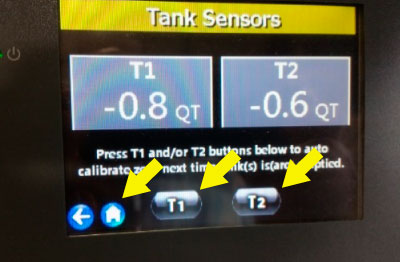
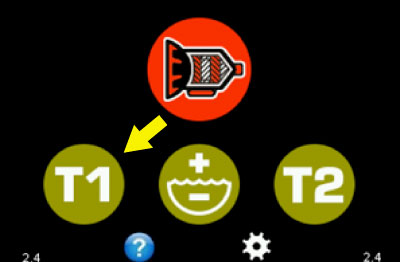
From the main screen, press T1. Follow the instructions to empty T1 new fluid container. Let the function run completely and stop itself.
NOTE: This function will run longer than usual as it is self-calibrating.
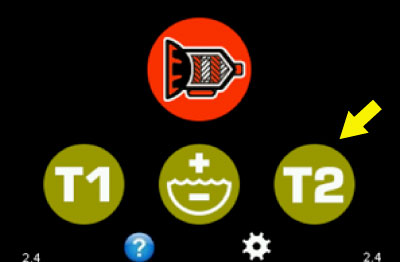
From the main screen, press T2. Follow the instructions to empty T2 new fluid container. Let the function run completely and stop itself.
NOTE: This function will run longer than usual as it is self-calibrating.
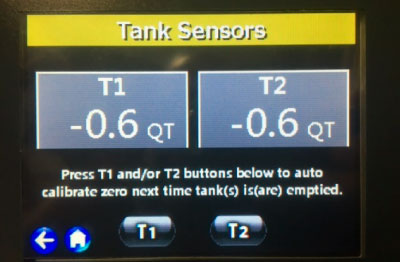
Follow the instructions in steps 74–75 to view current scale readings.
Both scales should read between –0.5 and –0.7 QT/L and the T1 and T2 lights should be gray (not green).
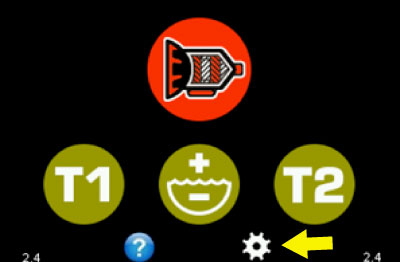
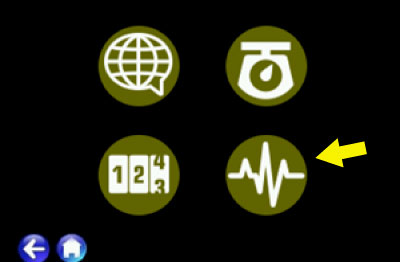
On the maintenance screen, press the diagnostic button.
Enter password “2652686”.
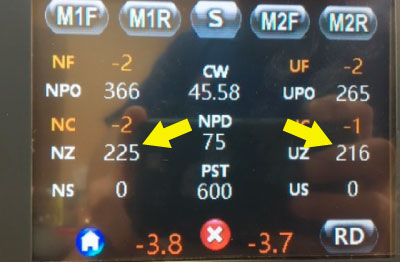
On the diagnostic screen, check the values of both scales. “NZ” and “UZ” should each be in the range of 150 to 350.
If NZ is outside this range, stop and replace the LEFT scale.*
If UZ is outside this range, stop and replace the RIGHT scale.*
*Order Scale/Signal Conditioner for PXT, PN PXT-012. New scale must be recalibrated.
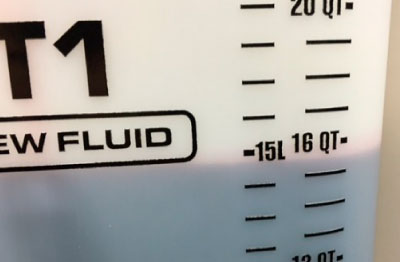
Add exactly 16 QT of transmission fluid to T1 new fluid container through F1 funnel.
IMPORTANT! Use an accurate external measurement tool for proper calibration test! Markings on the T1 new fluid container are not precise.
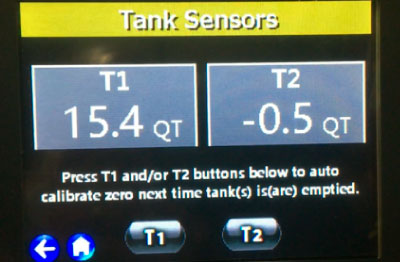
From the home screen, press T1 and follow the instructions to transfer the fluid from T1 new fluid container to T2 used fluid container.
CAUTION: Hold the hose in place to prevent it from falling out!
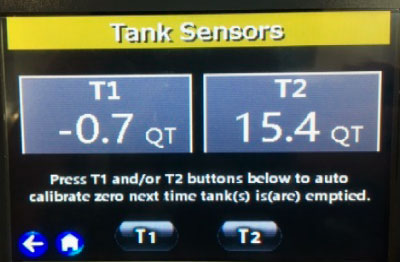
Follow the instructions in steps 74–75 to view current scale readings.
T2 should read between 14.9–15.9 QT if the scale is good.
If this scale is outside this range, replace the RIGHT scale. Order Scale/Signal Conditioner for PXT, PN PXT-012. New scale must be recalibrated.
Ship the following back to BG Products, Inc.:
- One (1) touchscreen
- One (1) electronics assembly: mounting plate with PLC and drive board securely fastened.
Credit will only be given for parts returned.
These parts must be returned to BG Products, Inc., in the SAME BOX in which the updated parts arrived. This is very important in order to prevent damage when the parts are shipped. If you return them in another box and there is damage, you may not receive credit.
Apply the supplied return shipping label. Write the RGA number on the label.
You may return the package using BG Products, Inc., UPS account #696478
Credit will be issued after BG Quality Assurance confirms that all items have been received in good condition.
Contact BG Customer Service if you have any questions.

